How can you get text to flow around an image in InDesign?
One option is to draw an outline around the image using the Pen Tool
To keep track of what's happening, it's useful to keep the Properties palette visible (Window Menu>Properties).
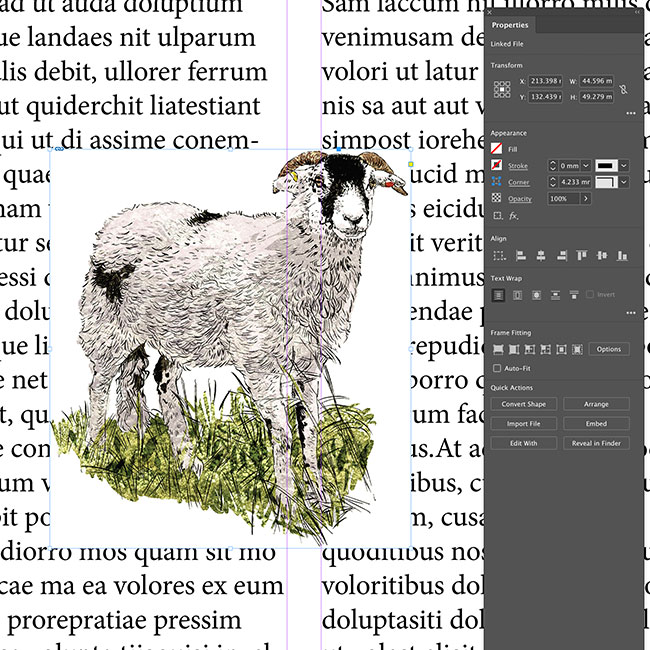
1. With no text frames selected, insert the image (COMMAND+D) into the layout.

2. Select the Pen Tool.
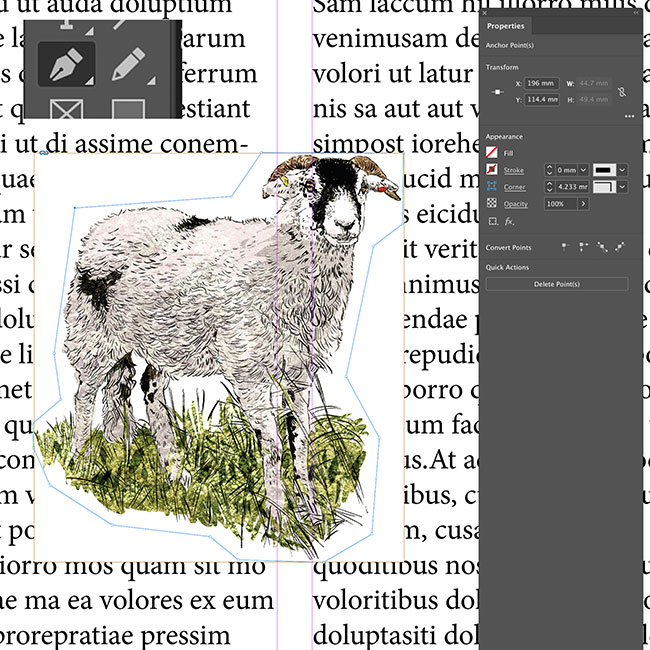
3. Using the pen tool, draw a path around the image, clicking each point as you go. Close the path by clicking on your starting point.
4. Using the 'Selection Tool' (the icon with the arrow in outline only), select the frame of the image that you added in stage 1.
Cut the image and frame (COMMAND+X).
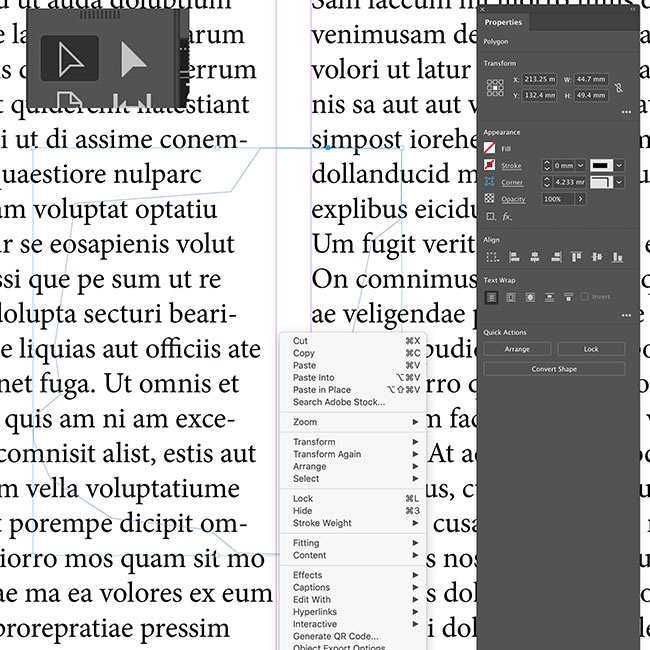
5. Using the Selection Tool, select the closed path you drew in Step 3. Right click the path and from the drop-down menu, select 'Paste Into' (ALT+COMMAND+V).
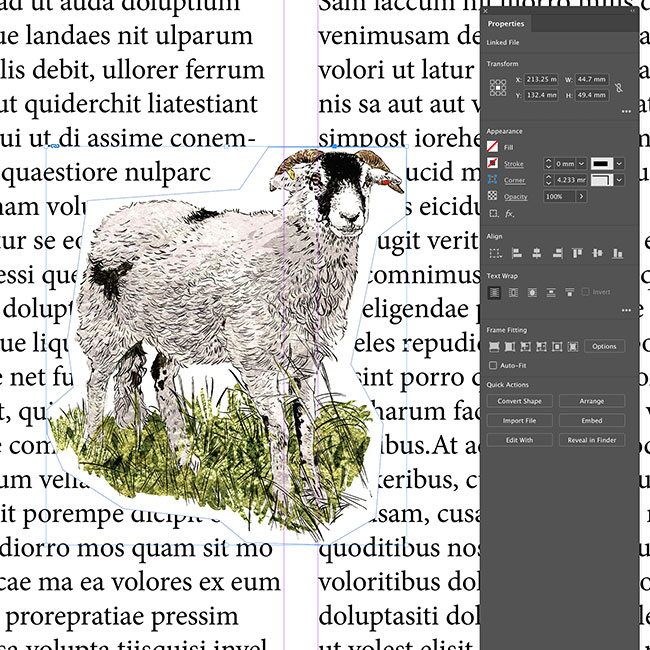
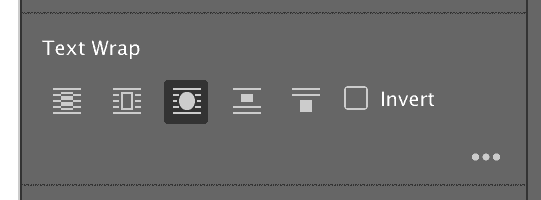
6. Note that in the Properties Palette, 'No Text Wrap' is selected.
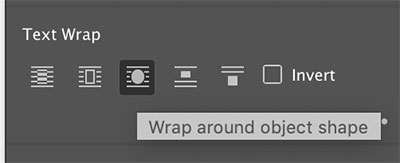
7. Select 'Wrap around object shape' in the Text Wrap section of the Properties Palette.
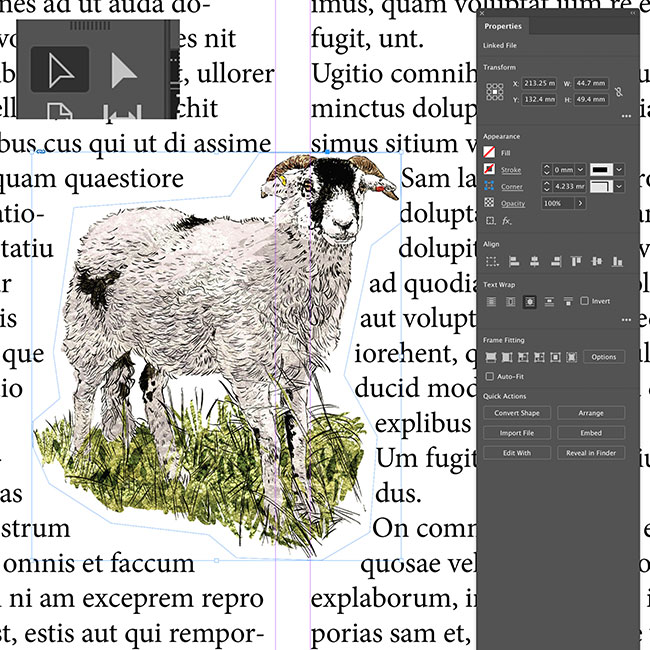
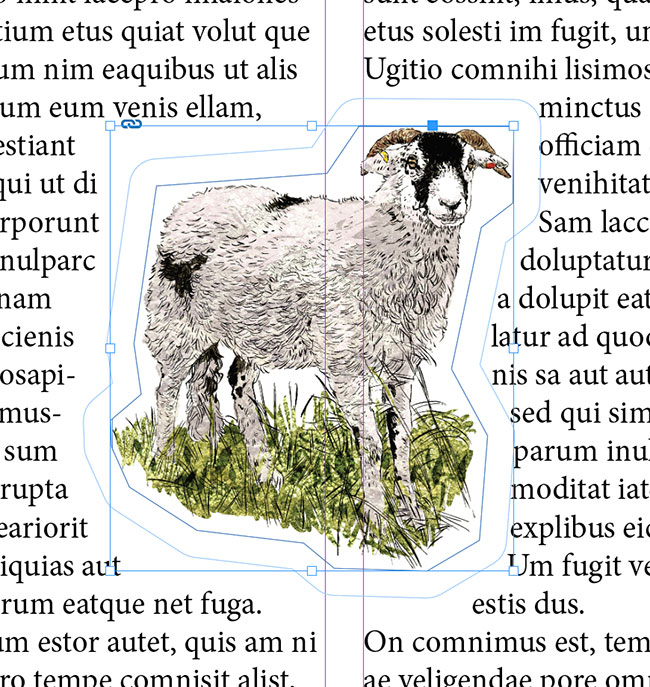
Text wrapped around the object shape.
7. Press the three dots icon in the Text Wrap palette.
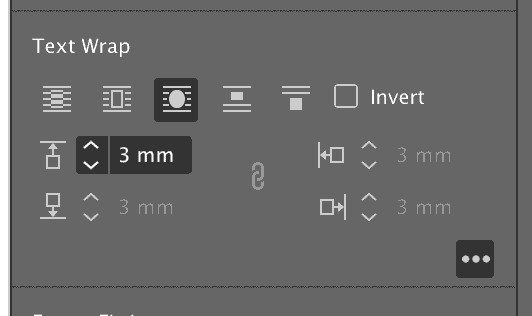
8. You can now add an offset value either all around the image or, by deselecting the chain icon that links all four options - top, bottom, left, right - you can set a value for just one edge of the image.
This gives the image a bit of breathing space.